Buttons
Buttons are a powerful tool that will help your users interact with the text, images, plots and simulations within your document. We're going to discuss using buttons to change simple text attributes (colour, visibility, etc), however you will most likely be using buttons to control more complicated events. In those cases, we suggest looking at the Scripting Reference post, as well as the topic-specific blog posts located in the Guides (Simulations, Plots, etc).
Example 1
This example uses two buttons to show/hide text. The text in paragraphOne is initially collapsed (i.e. completely hidden from the user and taking up no space in the page), and the first button is used to make it visible. The second button is used to collapse the text again. Ensure that the scripting keywords Style and Visibility are capitalised.
You can copy this example into your document as-is.
<p name="paragraphOne" style="collapsed">
  This is sample text.
</p>

<button content="Click to Show">
    <onClick>
    paragraphOne.Style.Visibility = "visible";
  </onClick>
</button>

<button content="Click to Collapse">
  <onClick>
    paragraphOne.Style.Visibility = "collapsed";
  </onClick>
</button>
Example 2
This example uses one button to toggle text. The button initially reads "Click Me". When it is pressed the if statement in the onClick event changes the text on the button to "Click Me Again". Tapping the button again triggers the else statement, which resets the button to "Click Me".
You can copy this example into your document as-is.
<button name="toggleButton" content="Click Me">
  <onClick>
    if toggleButton.Text == "Click Me" then
    toggleButton.Text = "Click Me Again";
    else
    toggleButton.Text = "Click Me";
    end
  </onClick>
</button>
Example 3
This example demonstrates how to use styles to make it easier to see when an attribute has been toggled. A style is used initially to make the button blue with white text. Each time the button is pressed, the background color is toggled between blue and black using an if statement.
You can copy this example into your document as-is.
<style name="button_style">
  <foreground color="white" />
  <background color="cornflowerBlue" />
</style>

<button name="aButton" content="On" style="button_style">
  <onClick>
    if aButton.Text == "On" then
    aButton.Style.BackgroundColor = color.rgb(10,10,10);
    aButton.Text = "Off"
    else
    aButton.Style.BackgroundColor = color.cornflowerBlue;
    aButton.Text = "On"
    end
  </onClick>
</button>
Example 4
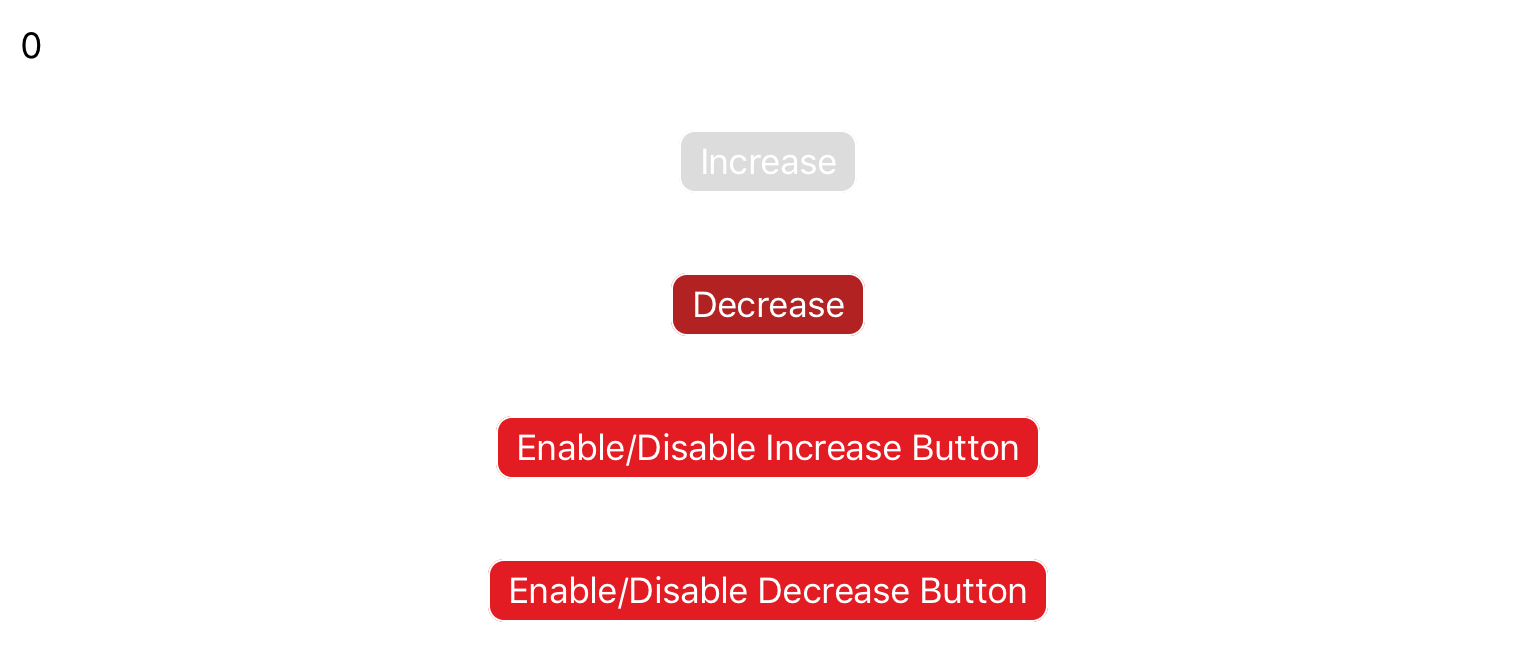
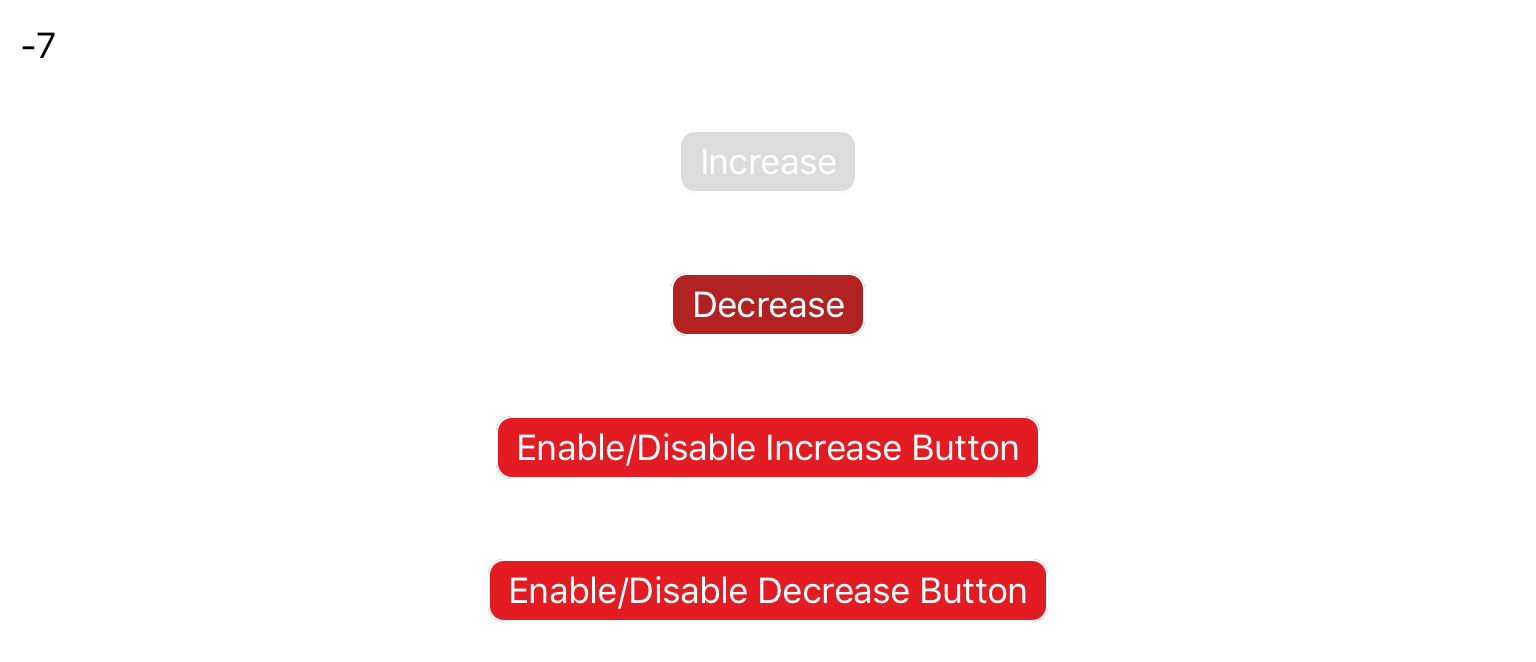
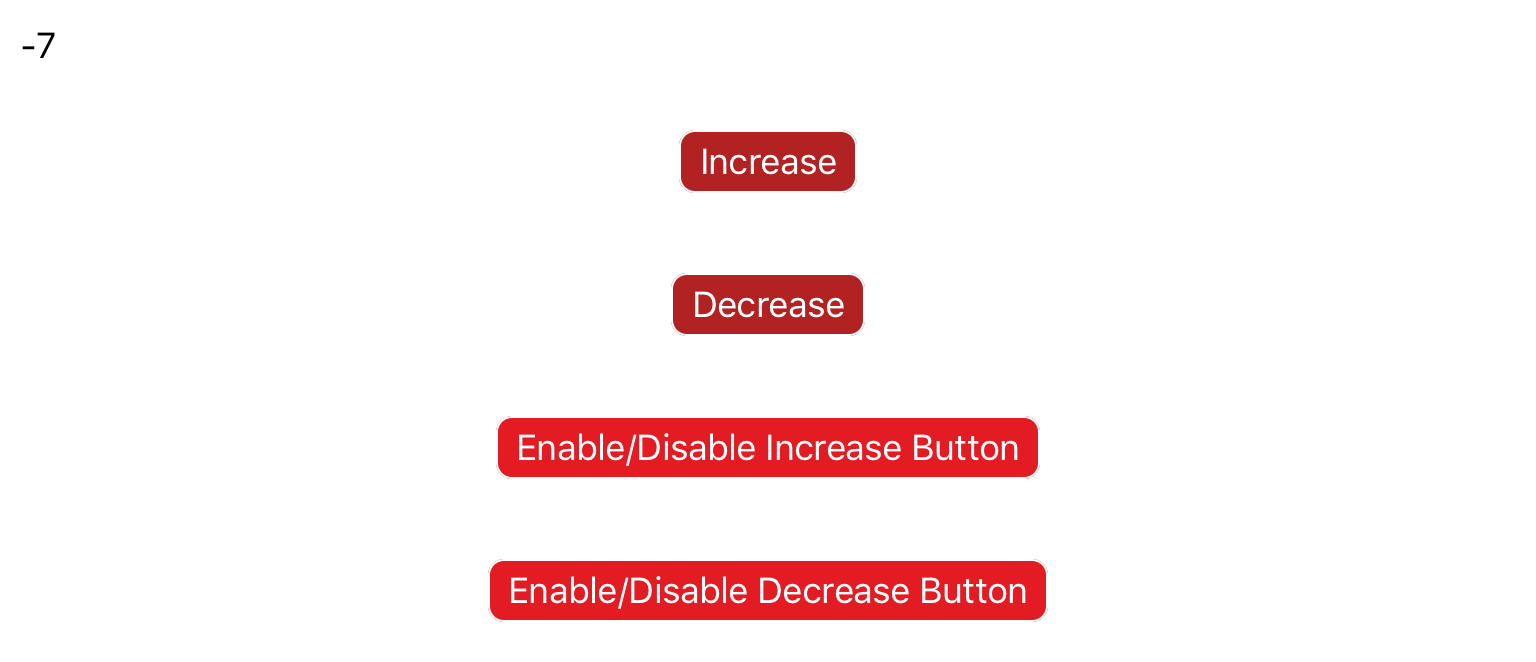
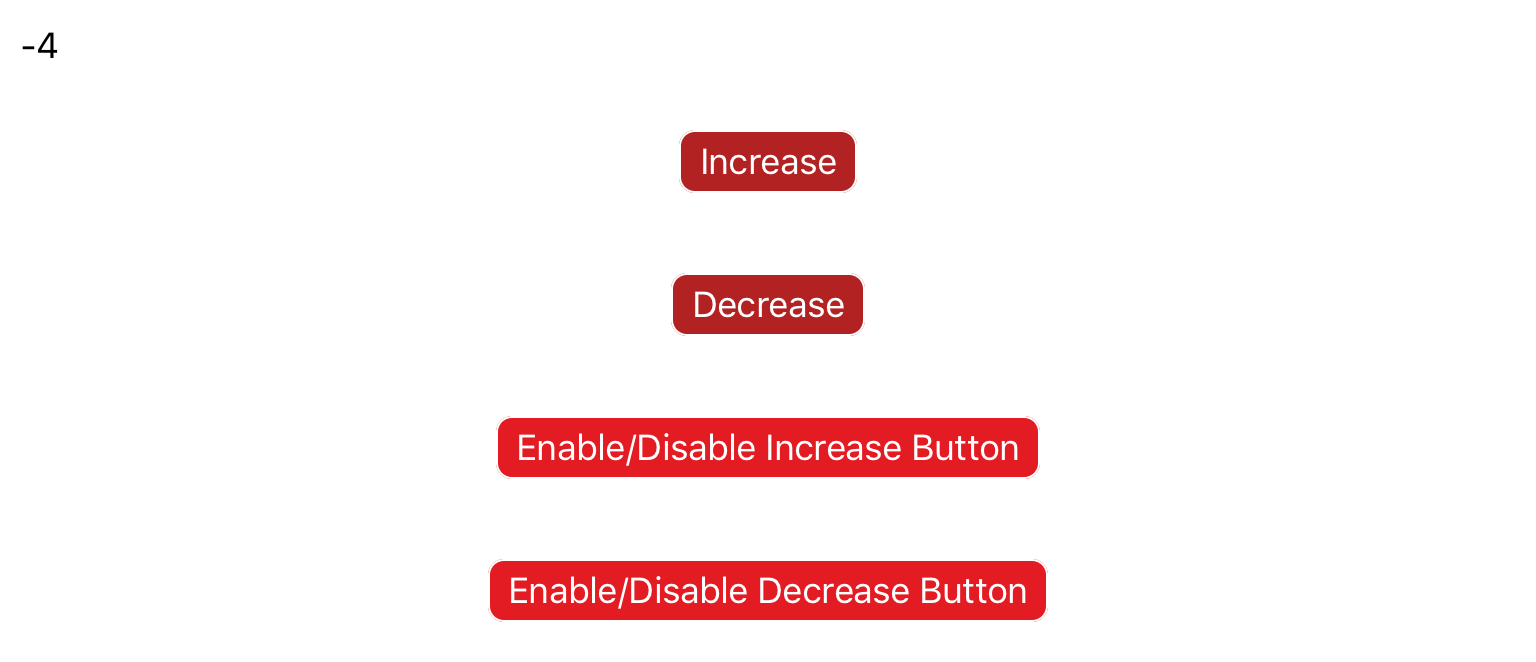
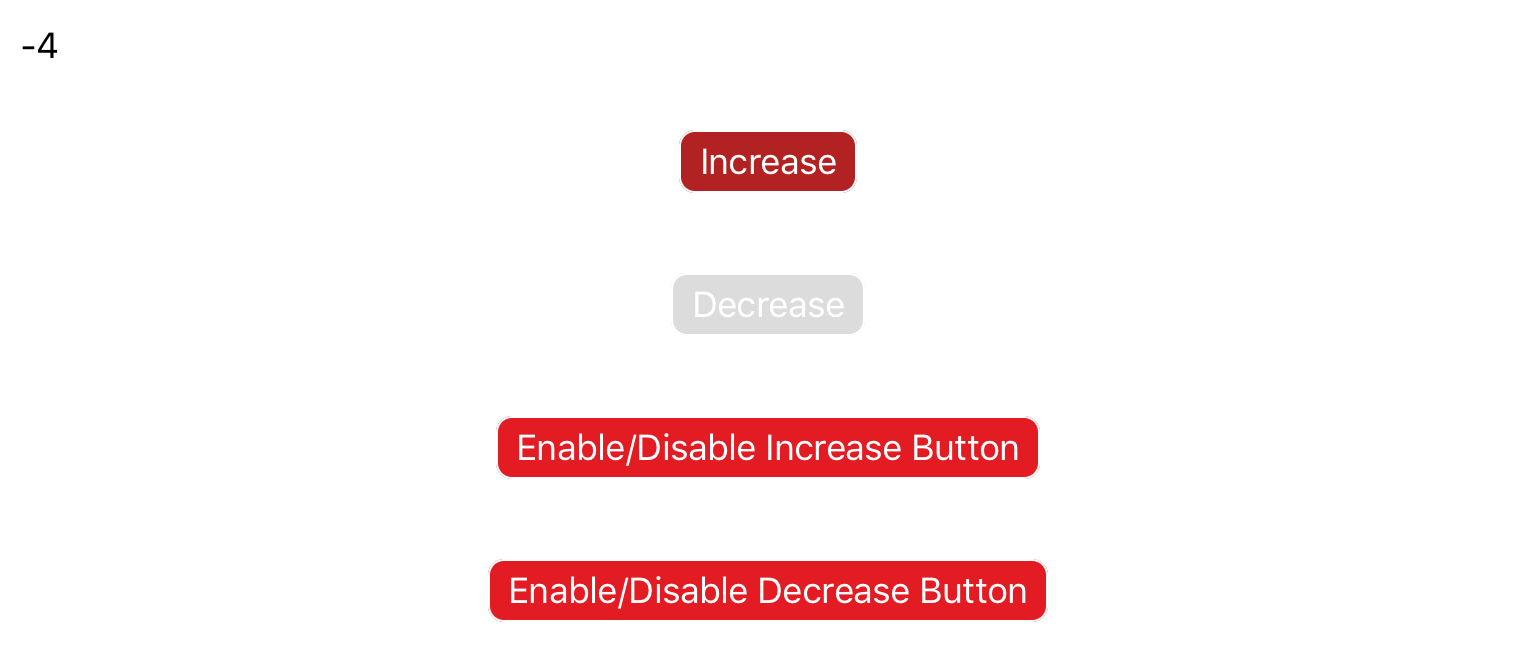
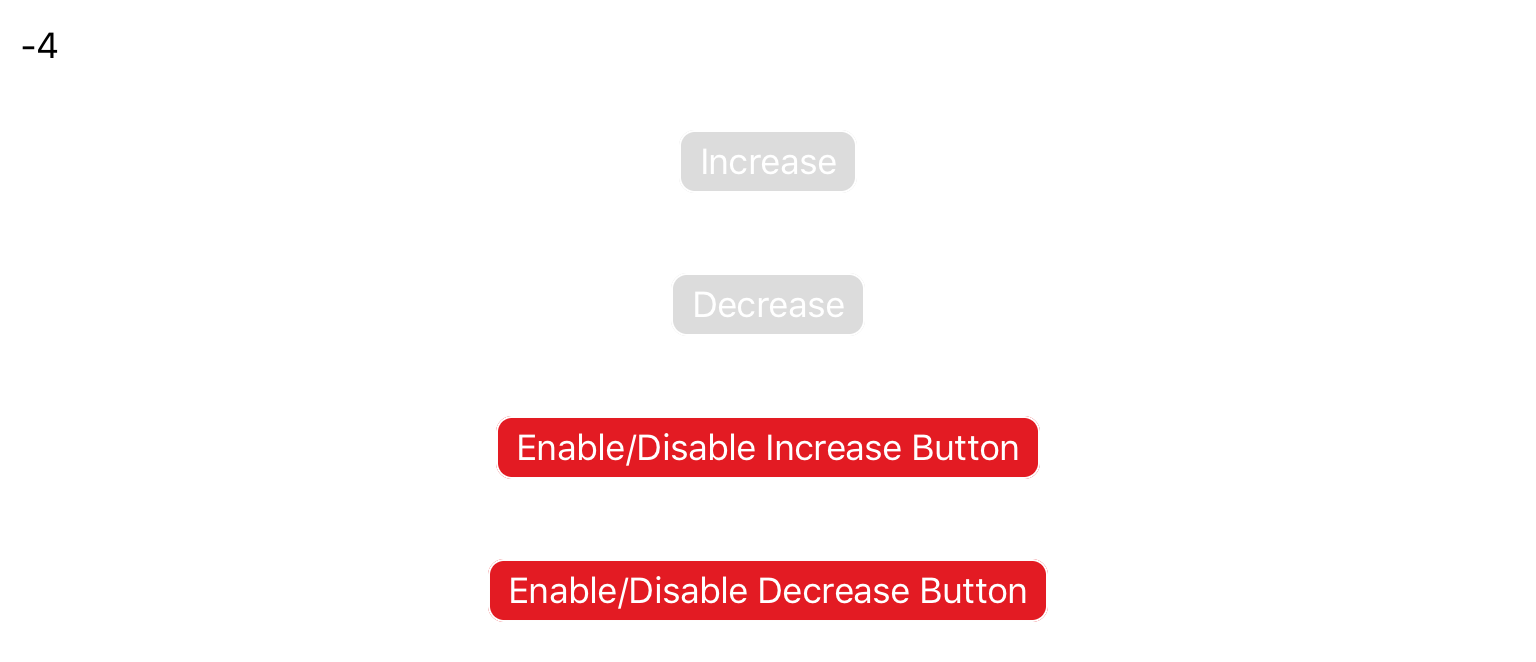
This example demonstrates how to use the below script to enable/disable buttons. Disabling a button stops the onClick event scripts from executing.
<script>
    enabled = {}

    function disable(buttonName)
    enabled[buttonName] = false
    buttonName.Style.BackgroundColor = color.gainsboro
    end

    function enable(buttonName)
    enabled[buttonName] = true
    buttonName.Style.BackgroundColor = color.fireBrick
    end
</script>
Two buttons are used to increase or decrease a value that is output to a paragraph. Two other buttons show how you can use the above functions to disable the buttons.
<script>
    -- Initialize the button states
    disable(incButton)
    enable(decButton)

    -- Initialize the number value
    num = 0
</script>

<p name="outputLabel">0</p>

<!-- Button to increase value. Note that script is contained inside an if-statement. -->
<button name="incButton" content="Increase">
    <onClick>
        if enabled[incButton] then
          num = num + 1
          outputLabel.Text = string.format("%d", num)
        end
    </onClick>
</button>

<!-- Button to decrease value. Note that script is contained inside an if-statement. -->
<button name="decButton" content="Decrease">
    <onClick>
        if enabled[decButton] then
          num = num - 1
          outputLabel.Text = string.format("%d", num)
        end
    </onClick>
</button>


<!-- Buttons to enable/disable the increment buttons -->
<button content="Enable/Disable Increase Button">
    <onClick>
        if enabled[incButton] then
        disable(incButton)
        else
        enable(incButton)
        end
    </onClick>
</button>

<button content="Enable/Disable Decrease Button">
    <onClick>
        if enabled[decButton] then
        disable(decButton)
        else
        enable(decButton)
        end
    </onClick>
</button>
Advanced
To learn more about the types of attributes that can be toggled with a button, see the Scripting Reference post in the Knowledge Base.


