Sections and Text

The most basic elements in qdex are sections and paragraph text. Sections are a simple way to organize the content of your apps, as well as define new pages. All content in qdex must be inside of a section.

Pages are defined by top-level sections, i.e. sections that occur directly inside document tags and not within other sections. Sections inside of other sections are called nested sections or subsections.

There are two types of sections available: section and sectionNoTitle. The first will not allow you to publish an app without a title element, the second does not force this constraint. 

 
<?xml version="1.0" encoding="utf-8"?>
<document xmlns="http://resources.qdexapps.com/schema/v1/QDocument.xsd" name="myDocument" id="G3F30D4C4_F7CB_4A89_981D_8B3DB2201484">

<!-- Meta Data -->
  <metadata>
    <title>My App</title>
    <creator>qdex</creator>
    <abstract>This document is for testing purposes only. The material that is presented here should be treated as an example only.</abstract>
  </metadata>   

<!-- This is a top level section. Content inside of this section will be on the first page of the app -->
  <section>
    <title>My First Section</title>    
<!-- This is a level 2 section; it is nested inside another section -->
    <section>
        <title>Nested Section</title>
    </section>    
  </section>
  
<!-- This is a top level section. Content inside of this section will be on the second page of the app -->
  <sectionNoTitle>
       
  </sectionNoTitle>

</document>


Example 1

This example uses sections to define groupings of text. Note how lower-level sections are formatted to have smaller titles.

You can copy this example into your document as a top-level section, i.e. not inside of other sections.


<section>
  <title>A New Hope</title>
  <p>All right. Well, take care of yourself, Han. I guess that's what you're best at, ain't it? In my experience, there is no such thing as luck. 
  Escape is not his plan. I must face him, alone. Your eyes can deceive you. Don't trust them.</p>
  <section>
    <title>The Force Unleashed</title>
    <p>In my experience, there is no such thing as luck. Obi-Wan is here. The Force is with him. I care. So, what do you think of her, Han? 
    Still, she's got a lot of spirit. I don't know, what do you think? I call it luck.</p>
    <section>
      <title>The Republic</title>
      <p>Red Five standing by. Your eyes can deceive you. Don't trust them. Your eyes can deceive you. Don't trust them. I'm surprised you had the courage to take the responsibility yourself.</p>
    </section> 
  </section>
</section>
 
text-and-sections.jpg
 

Example 2

This example shows how to use the paragraph break tag to insert a new line into a paragraph. 

You can copy this example into your document as-is.

 <p>Partially, but it also obeys your commands. You are a part of the Rebel Alliance and a traitor! Take her away! 
   <br/>No! Alderaan is peaceful. We have no weapons. You can't possibly… 
   <br/>Ye-ha! I can't get involved! I've got work to do! It's not that I like the Empire, I hate it, but there's nothing I can do about it right now. 
   <br/><br/>It's such a long way from here.
</p>
 
paragraph-break.jpg
 

Tables

Tables are created using the table tag. Tables have two optional attributes that you can set when defining them:

grid (true/false): Define if table borders are visible
widths (numbers): Define the widths of the columns

The grid is turned on by default. If no widths are specified, the columns will be evenly distributed in width.

Example 1

This is an example of a simple table with visible table borders, and whose column widths are 40% and 60% of the page.

You can copy this example into your document as-is.

<table grid="true" widths="40% 60%">
  <head>
    <column>
      <p>Name</p>
    </column>
    <column>
      <p>Affiliation</p>
    </column>
  </head>
  <row>
    <column>
      <p>Luke Skywalker</p>
    </column>
    <column>
      <p>New Jedi Order</p>
    </column>
  </row>
  <row>
    <column>
      <p>Darth Vader</p>
    </column>
    <column>
      <p>The Galactic Empire</p>
    </column>
  </row>
</table>
table-with-borders.jpg

Example 2

This is an example of using the column span attribute to merge the cells of multiple columns in a single row. 

You can copy this example into your document as-is.

<table grid="true" widths="30% 30% 40%">
  <head>
    <column>
      <p>Name</p>
    </column>
    <column>
      <p>Alternate Identity</p>
    </column>
    <column>
      <p>Affiliation</p>
    </column>
  </head>
  <row>
    <column columnSpan="2">
      <p>Luke Skywalker</p>
    </column>
    <column>
      <p>New Jedi Order</p>
    </column>
  </row>
</table>
table-column-span.jpg

Example 3

This is an example of using the data element inside of a table to add rows and columns without explicitly defining them. Commas separate columns and semicolons define the rows. The data element can be mixed with other table elements, like head and row

You can copy this example into your document as-is.

<table>
  <data>
    <b>Operation, Expression; </b>
    Square, $x^2$ (square);
    Cube, $x^3$;
    Multiply, $x * y$;
    Text, <b>This is not math.</b>
  </data>
</table>
table-data.jpg

Example 4

This example uses the values from a comma-separated-value (CSV) file to populate the fields of a table. The file must be included in the resources folder of your project.

You can not copy this example into your document without creating and including a CSV file in your project.

<table>
  <head>
    <column>
      <p>X</p>
    </column>
    <column>
      <p>Y</p>
    </column>
  </head>
  <data src="resources/my_values.csv" />
</table>
table-from-csv.jpg

Bulleted Lists

Bulleted lists are created by applying a bullet style to a paragraph tag.

Example 1

This example uses a regular bullet style to create a bulleted list.

You can copy this example into your document as-is.

<p style="bullet">All right. Well, take care of yourself, Han.</p>
<p style="bullet">Red Five standing by.</p>
 
bullet-text.jpg
 

Example 2

This is an example of nested bullet lists using the bulletLevel# style. You can insert up to six levels of nested bullets.

You can copy this example into your document as-is.

<p style="bulletLevel1">You are a part of the Rebel Alliance and a traitor!</p>    
<p style="bulletLevel2">I guess that's what you're best at, ain't it? </p>
<p style="bulletLevel3">The more you tighten your grip, Tarkin, the more star systems will slip through your fingers.</p>
<p style="bulletLevel4">Still, she's got a lot of spirit. I don't know, what do you think?</p>
<p style="bulletLevel5">Your eyes can deceive you. Don't trust them. But with the blast shield down, I can't even see!</p>
<p style="bulletLevel6">How am I supposed to fight? Leave that to me.</p>
 
bullet-text-levels.jpg
 

Numbered Lists

Numbered lists are created using custom styles with counters. You can use these styles to define the type of number (e.g. decimal, roman, greek, etc) as well as the pattern that follows each number (e.g. comma, decimal point, bracket).

The first style is used to define the counter, as well as its format. The second style is used to increment the counter and define the counting mode as flat (1, 2, 3) or hierarchical (1.1, 1.2, 1.3).

Example 1

This is an example of decimal numbering a simple list. 

You can copy this example into your document as-is.

<style>
  <counter name="decBullet" format="decimal" />
</style>

<style name="numberedBullet">
  <increment counter="decBullet" />
  <numbering counter="decBullet" mode="flat" />
</style>

<p style="numberedBullet">
  Hey, Luke! May the Force be with you. What?!
</p>
<p style="numberedBullet">
  The plans you refer to will soon be back in our hands.
</p>
 
number-list.jpg
 

Example 2

This is an example of a lower-case roman numeral list. The second style uses the pattern attribute to dictate how the numbers are displayed, using the # symbol as a placeholder.

You can copy this example into your document as-is.

<style>
  <counter name="bullet" format="lowerRoman"/>
</style>

<style name="romanBullet">
  <increment counter="bullet" />
  <numbering counter="bullet" mode="flat" pattern="#) " />
</style>

<p style="romanBullet">
  I'm getting too old for this sort of thing
</p>
 
numeral-list.jpg
 

Stacks

Stacks can be used to organise elements, or arrange them horizontally or vertically. They are useful for limiting scope or for applying visibility styles to a collection of elements. 

Example 1

This example uses a stack with horizontal orientation to place two buttons side-by-side. Horizontally-oriented stacks resize the width of their content so that everything fits. This can result in elements that are too small to use or see. If you would like the content inside of your stack to be scaled differently, use a multi-column table with an invisible grid instead. 

You can copy this example into your document as-is.

<stack orientation="horizontal">
  <button content="Button 1" />
  <button content="Button 2" />
</stack>
 
horizontal-stack-buttons.jpg
 

Example 2

This is an example of a stack with auto orientation. This orientation switches between horizontal and vertical orientations depending on the size of the device. Auto is the recommended stack layout for plots and animations.

You can copy this example into your document as-is.

<stack orientation="auto">
  <button content="Button 1" />
  <button content="Button 2" />
</stack>
Buttons on phone in portrait mode

Buttons on phone in portrait mode

Buttons on phone in landscape mode

Buttons on phone in landscape mode

Styling Stacks

Since stacks allow you to group app elements together, they can be used to apply a style to multiple tags at a single time. For example, if you have a hidden solution that contains a paragraph and a few equations you can group them in a stack to easily change the visibility property on button press.

Equations

To display equations in your app you must wrap the LaTeX commands in dollar signs ($) inside of paragraph or equation tags. After that, you can insert any LaTeX mathematics commands and the document should typeset the formulas. If you are unfamiliar with LaTeX, see the LaTeX/Mathematics Wikibook and the LaTeX/Advanced Mathematics Wikibook

Example 1

You can copy this example into your document as-is.

<equation>
    $ y = mx + b $
</equation>
 
simple-equation.jpg


Example 2

You can copy this example into your document as-is.

<equation>
    $ y =\tan(\theta) \cdot x - \frac{g}{2v^2_{0}\cos^2 \theta} \cdot x^2 $
</equation>
 
tan-equation.jpg


Example 3

You can copy this example into your document as-is.

<equation>
  $ \int_0^\infty \mathrm{e}^{-x}\,\mathrm{d}x $
</equation>
 
integral-equation.jpg


Example 4

You can copy this example into your document as-is.*

<p>
  This sentence contains an equation right here: $ y = mx + b $
</p>
inline-equation.jpg


Example 5

This example shows how using CDATA allows for the insertion of illegal characters.

You can copy this example into your document as-is.

<equation>
  <![CDATA[
    $ A_{m,n} =
        \begin{pmatrix} a_{1,1} & a_{1,2} & \cdots & a_{1,n} \\
        a_{2,1} & a_{2,2} & \cdots & a_{2,n} \\
        \vdots & \vdots & \ddots & \vdots  \\
        a_{m,1} & a_{m,2} & \cdots & a_{m,n}  
    \end{pmatrix} $ 
    ]]>
</equation>
 
matrix-equation.jpg
 

Headers and Footers

You can use headers and footers to display important module information, including the name of the author, institution logo, and copyright information. They're created using header and footer tags, and can contain text, images, and links. Headers and footers must be defined before a top-level section, and will apply to every page in the document until a new header or footer is declared.

Example 1

This example uses a header to display the name of the document author.

You can copy this example into your document as a top-level section (i.e. not inside other sections).

<header>
  <p>
     Authored By: John Smith
  </p>
</header>

<section>
   <title>Page One</title>
</section>

<section>
   <title>Page Two</title>
</section>

Example 2

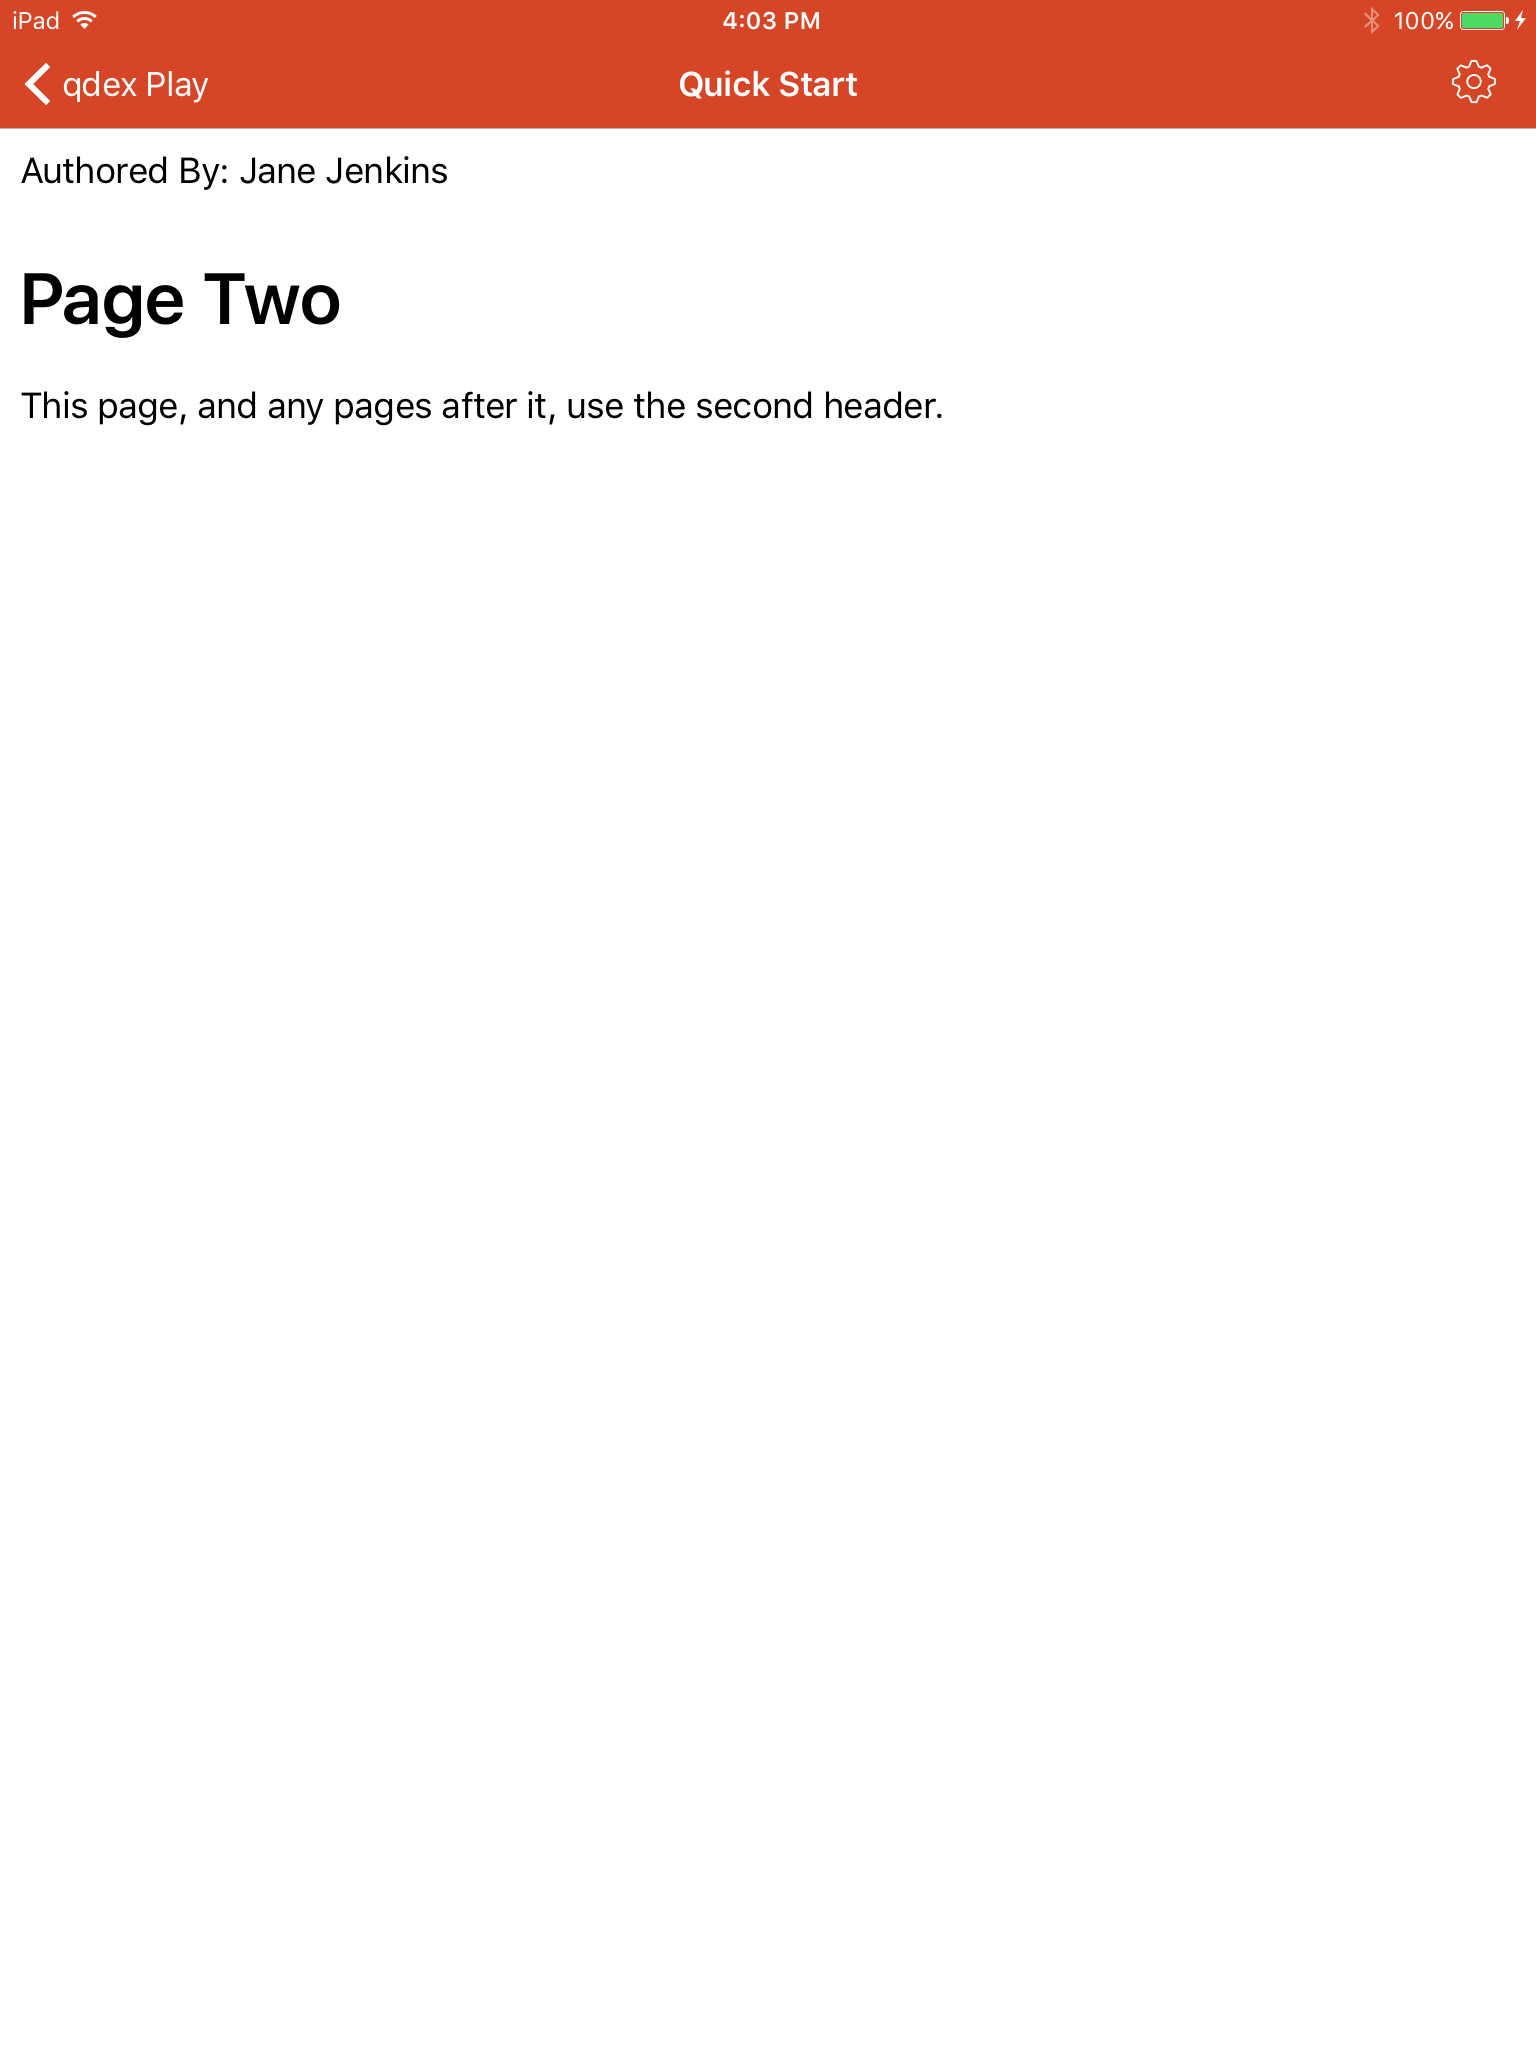
This example uses two headers to display the names of different authors. 

You can copy this example into your document as a top-level section (i.e. not inside other sections).

<header>
  <p>
    Authored By: John Smith
  </p>
</header>

<section>
  <title>Page One</title>
  <p>This page uses the first header.</p>
</section>

<header>
  <p>
    Authored By: Jane Jenkins
  </p>
</header>

<section>
  <title>Page Two</title>
  <p>This page, and any pages after it, use the second header.</p>
</section>

Example 3

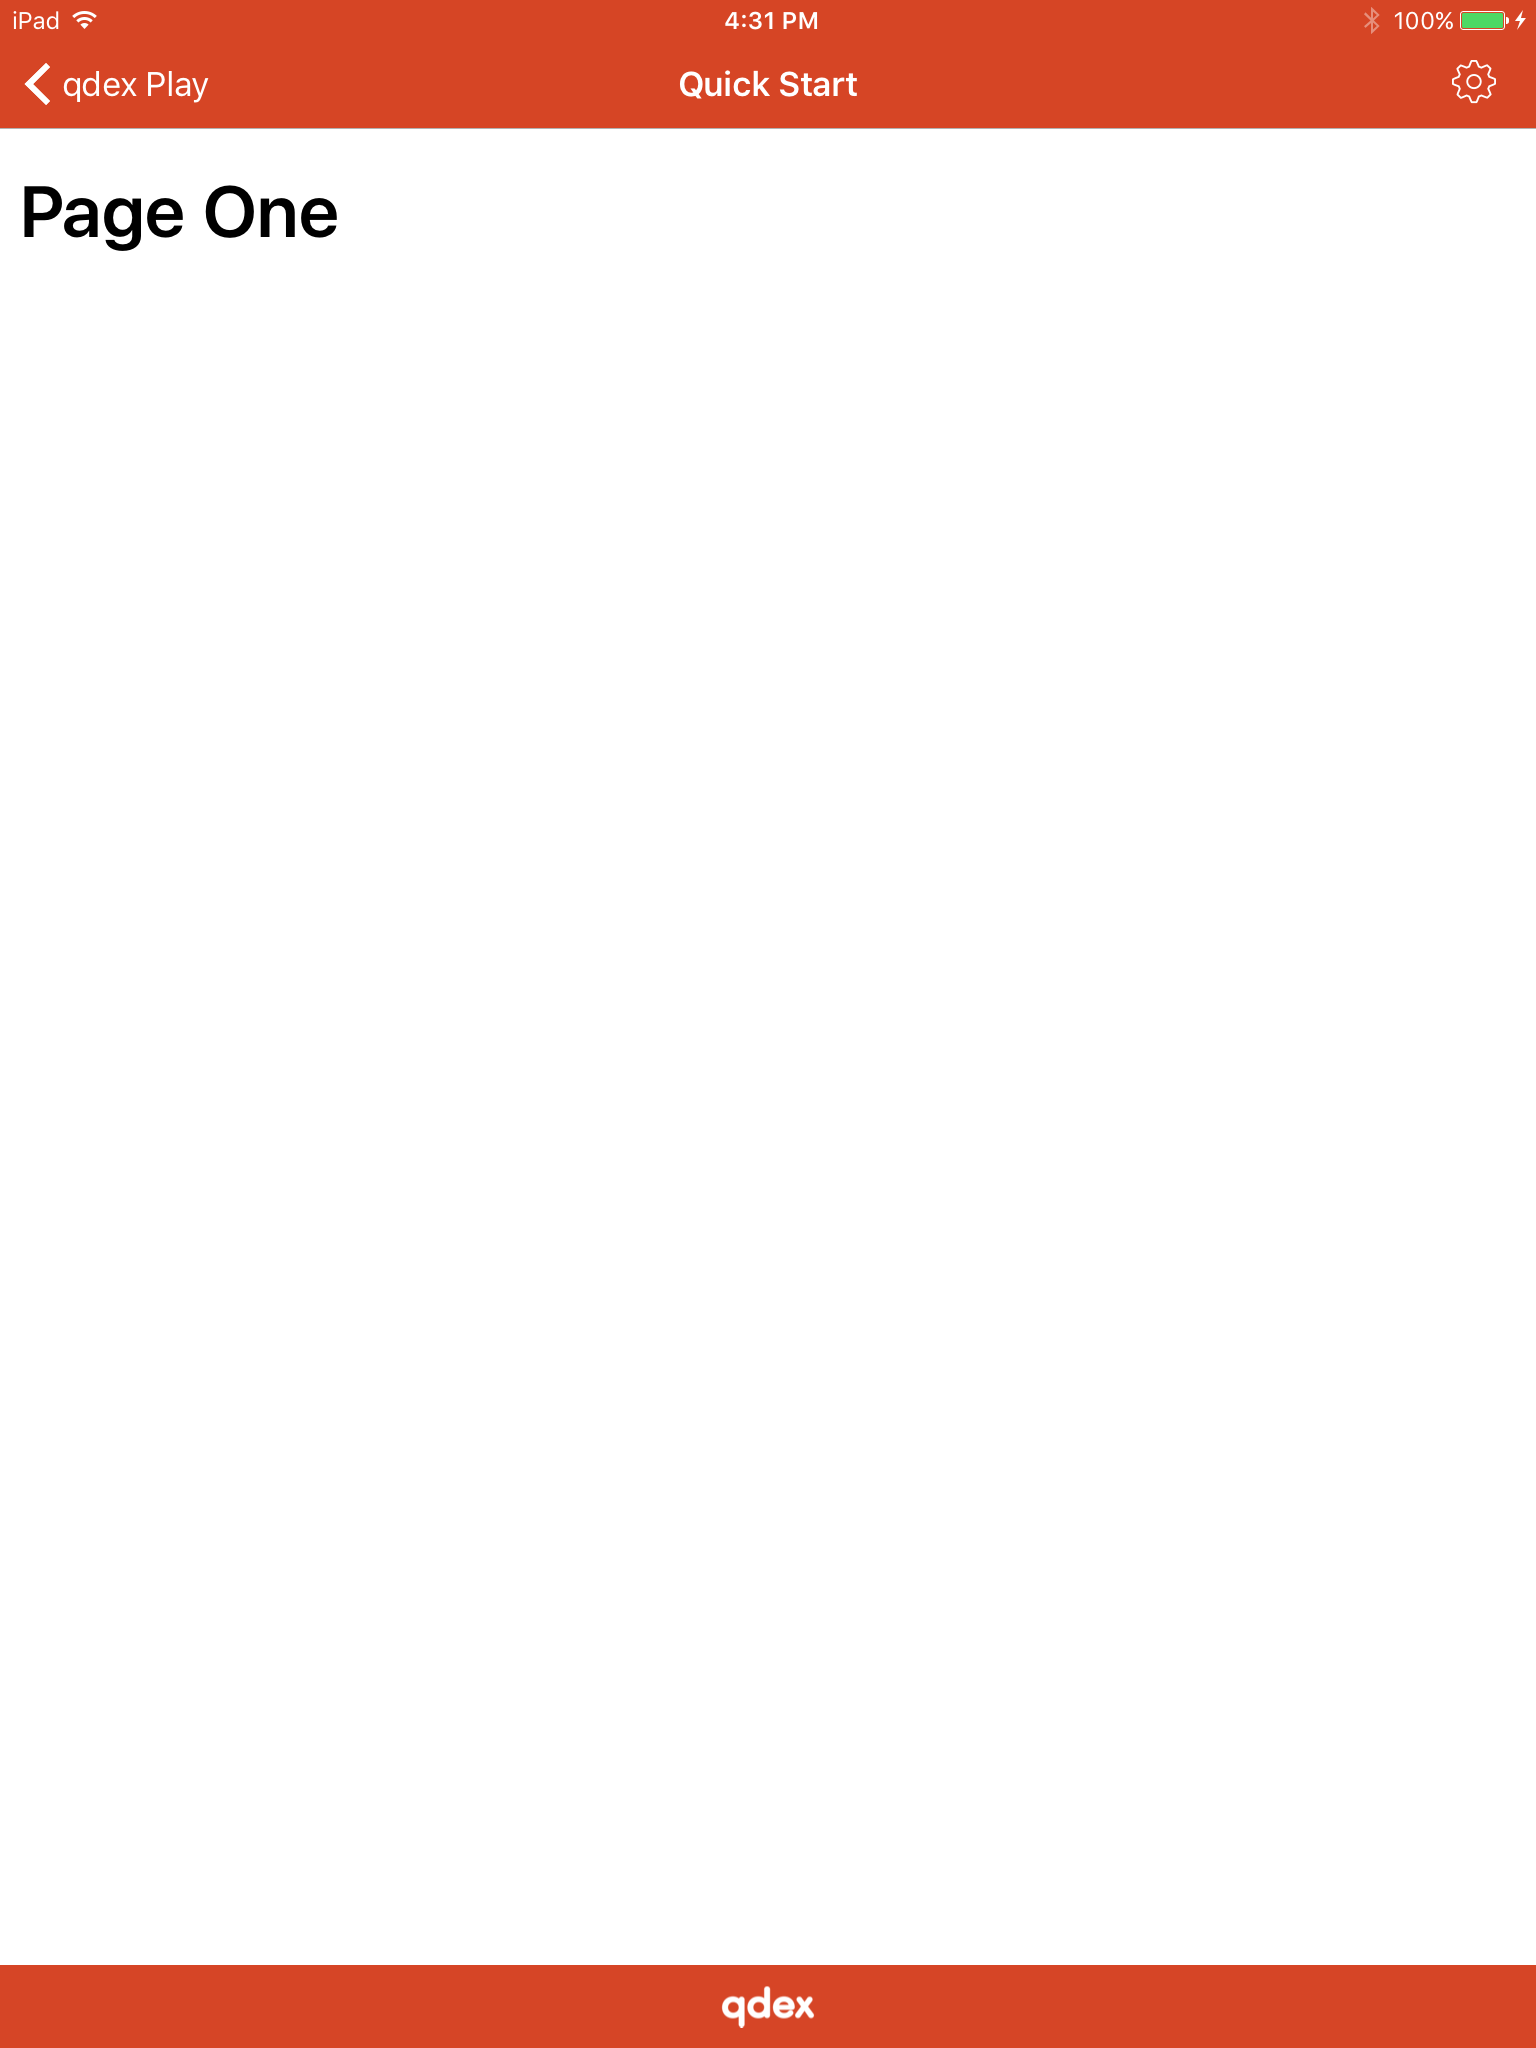
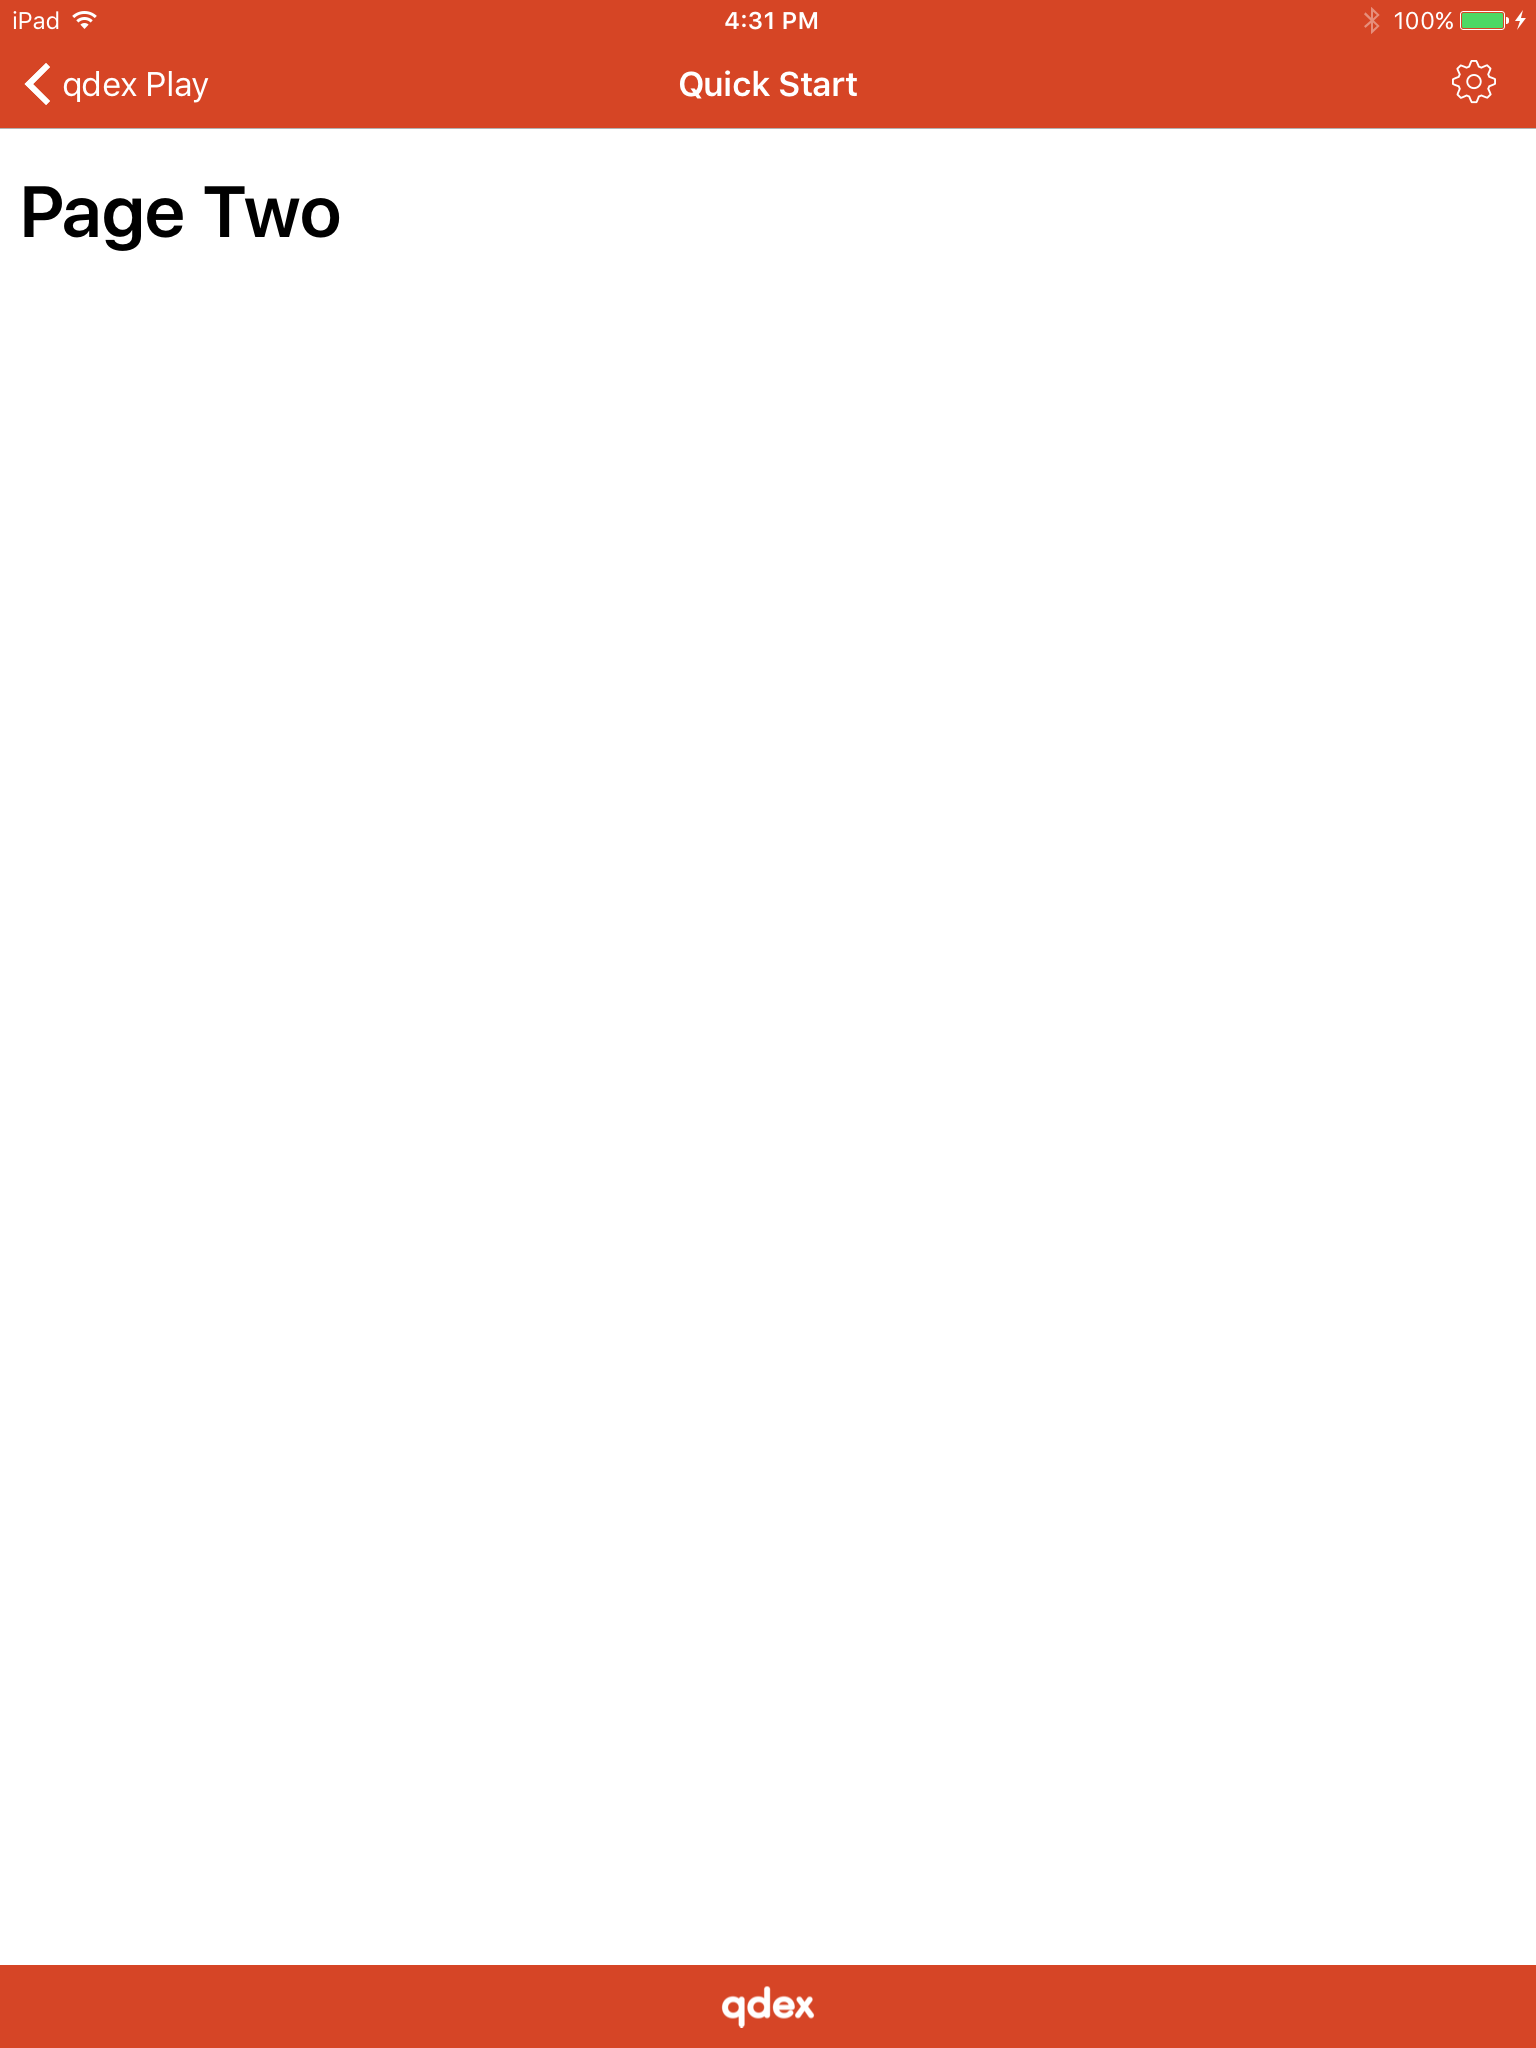
This is an example of using styles and color to differentiate the footer from the rest of the learning module. This footer includes an image. We recommend setting image inspection to false when using logos in headers and footers.

You can not copy this example into your document without first including an image called "logo.png" in your project resources folder.

<footer>
  <stack>
    <style>
      <background color="214 69 38" />
    </style>
    <image src="resources/logo.png" style="tiny" inspect="false" />
  </stack>
</footer>

<section>
  <title>Page One</title>
</section>

<section>
  <title>Page Two</title>
</section>

Styling

Basic font styling within the qdex framework is as easy as wrapping the desired words in tags.

<p>
    This sentence illustrates basic font styles, such as <b>bold</b>, <i>italic</i>, <u>underline</u>, <sup>superscript</sup>, and <sub>subscript</sub>.
</p>
 
styled-sentence.jpg
 

Size

The following example shows how to change the size of text inline using the size scale tag. This tag changes the size of text relative to its default size, so applying a large style to a paragraph will be different than applying it to a section title.

<section>
  <title>
    Regular title <size scale="large"> Larger title </size> <size scale="small"> Smaller title </size>
  </title>

  <p>
    Regular paragraph <size scale="large"> Larger paragraph </size> <size scale="small"> Smaller paragraph </size>
  </p>

</section>
Sizing text.PNG
 

If you are using an XML editor with Intellisense you may notice that there is a size points tag, which also alters the size of text. The size points tag uses an absolute text size value, so the font is the same size regardless of the device that you are using or where it is applied. This might result in a document that looks good on a tablet but over sized on a phone. It is reccommended to only use the size scale tag when altering text size.