Built In Styles

There are a number of styles built-in to qdex that you can utilise to alter the way that your content is displayed. Some of the styles require you to specify the style attribute of an element that you want to alter, whereas some are built-in as snippets.

Visibility Styles

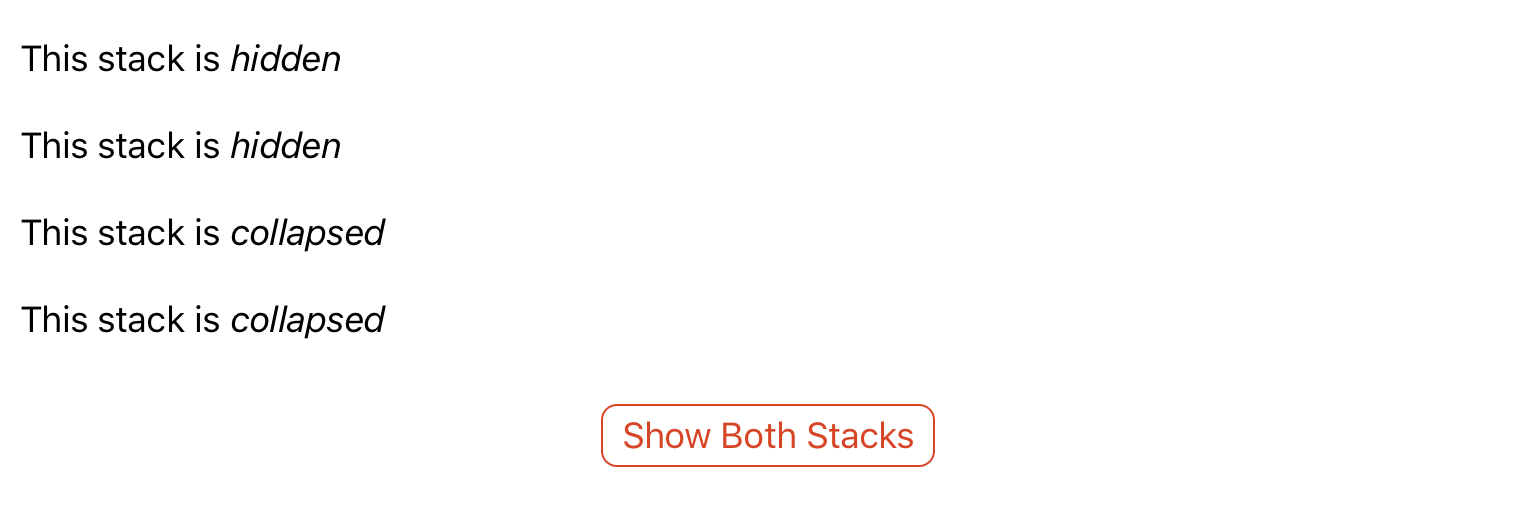
Use the visibility styles collapsed and hidden to selectively show/hide content from your apps. Great for question and answer type modules, or for altering the content showed based on button press.

The collapsed style removes the entire element from the app, shifting the surrounding content to fill in the space. The hidden style covers the element, leaving a large space where the hidden content once was.

In the below example, both stacks are not visible on page load (one is hidden, the other collapsed). On button press, both stacks become visible. 

<stack name="hiddenStack" style="hidden">
  <p>This stack is <i>hidden</i></p>
  <p>This stack is <i>hidden</i></p>
</stack>

<stack name="collapsedStack" style="collapsed">
  <p>This stack is <i>collapsed</i></p>
  <p>This stack is <i>collapsed</i></p>
</stack>

<button content="Show Both Stacks">
  <onClick>
    hiddenStack.Style.Visibility = "visible"
    collapsedStack.Style.Visibility = "visible"
  </onClick>
</button>


Horizontal Alignment

Change the horizontal alignment of any element (stacks, buttons, images, etc.) by using the left, center, and right styles.

<button content="Click Me" style="right">
  <onClick>
    ...
  </onClick>
</button>
 
right-aligned-button.jpg
 

You can use two or more styles at a time by listing them consecutively in the style attribute.

<image src="resources/logo.png" style="small left" />
 
left-aligned-button.jpg
 

Text Alignment

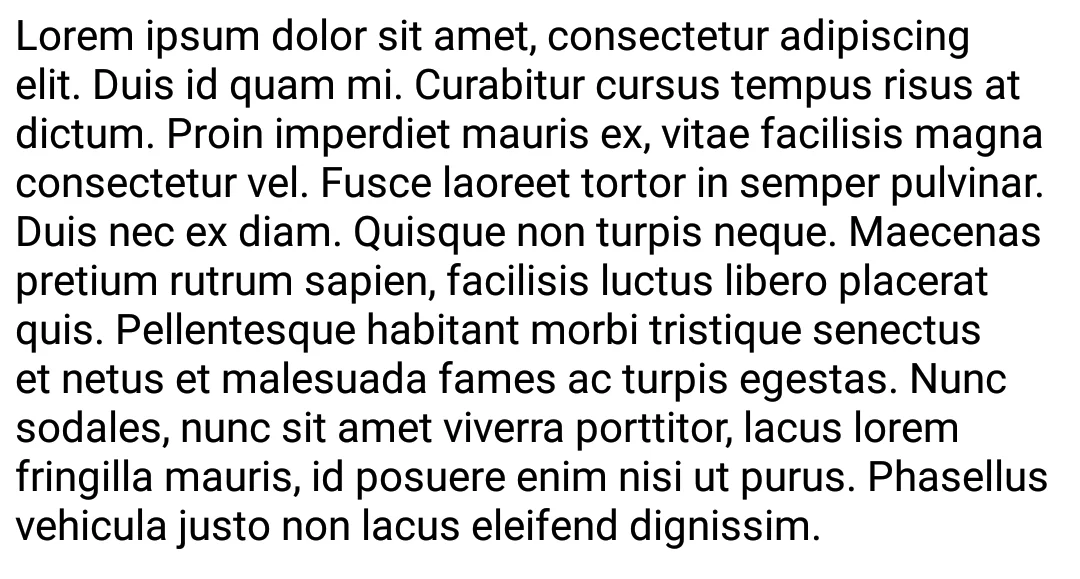
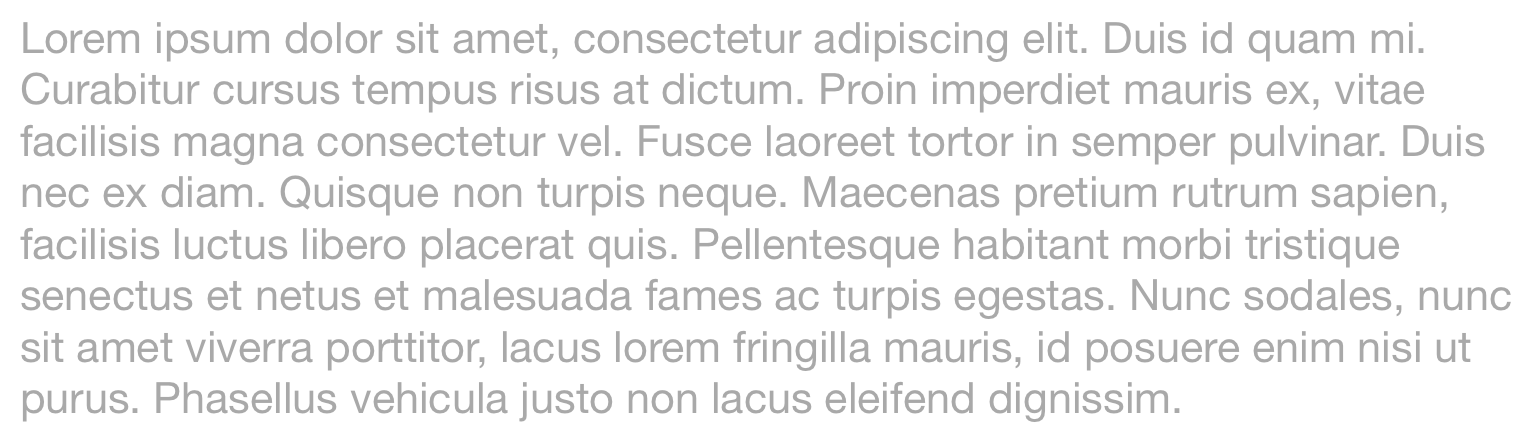
Alter how your text (i.e. paragraphs, labels) is aligned by using the centerText and rightText styles. By default, text is left-aligned. 

<p>This text is left-aligned by default</p>

<p style="centerText">This text is centered</p>

<p style="rightText">This text is right-aligned</p>
 
text-alignment.jpg
 

Emphasize a Section

Use the highlightBox style to emphasize a section or group of ideas. 

<stack style="highlightBox">
  <p>
    For eight hundred years have I trained Jedi. My own counsel will I keep on who is to be trained. A Jedi must have the deepest commitment, the most serious mind.
  </p>
</stack>
 
highlight-text.jpg
 

Emphasize an Equation

Use the emphasizeMath style to highlight important equations in your apps. 

<stack style="emphasizeMath">
  <equation>
    $  x = a_0 + \cfrac{1}{a_1
    + \cfrac{1}{a_2
    + \cfrac{1}{a_3 + \cfrac{1}{a_4} } } } $
  </equation>
</stack>
 
emphasize-math-style.jpg
 

Border

Add a border to text, images, equations, etc. using nested stacks and the borderOutside and borderInside styles. 

<stack style="borderOutside">
  <stack style="borderInside">
    <p>For eight hundred years have I trained Jedi. My own counsel will I keep on who is to be trained. A Jedi must have the deepest commitment, the most serious mind.</p>
  </stack>
</stack>
 
border-style.jpg
 

Line Across Page

Add a line horizontally across the page to separate ideas. Just use a paragraph with the line style.

<p style="line">_</p>
line-across-page.jpg

Change the line color by updating the foreground and background colors in the line style before inserting your line.

<style name="line">
  <background color="gainsboro" />
  <foreground color="gainsboro" />
</style>

Definition

Use the definition and definitionWord styles to format important concepts in your app. 

<p style="definitionWord">
  App
</p>
<p style="definition">
  A self-contained program or piece of software designed to fulfill a particular purpose; an application, especially as downloaded by a user to a mobile device.
</p>
 
definition-style.jpg
 

Quote

Use the quote snippet to add a styled quote to your app. The snippet shortcut is qquote

 
quote-style.jpg
 

If you would like to change the colour of the quotation mark to be more consistent with your institution's colours, update the quotationSymbol style before you insert the quote snippet.

<style name="quotationSymbol">
  <foreground color="midnightBlue" />
</style>

Scoping Rules

Before we get started talking about the styles that you can change, or how to apply them to different elements, the first thing that we need to cover is where the styles need to live in your document to make them accessible to the elements that you're styling. Where you define your style depends on how often you would like to use it in a module.

The rules that determine where styles should be declared are the same as the rules that apply to scripts. The rules are covered in more detail in the Scripting Guide

Inline

If you're going to apply a style to a single element, then you can declare that style inside of the element declaration. For example, to make a single paragraph gray, you could do the following

 
<p>
  <style>
    <forground color="dimGray"/>
  </style>
  This text is gray!
</p>

Custom Style

If you're going to apply a style to a select group of elements, then you can declare the style just before you create those elements. For example, to make a few paragraphs gray, you could do the following

 
<style name="gray_text">
    <foreground color="dimGray" />
</style>

<p style="gray_text">This text is gray!</p>
<p>This text is default black.</p>
<p style="gray_text">This text is gray!</p>

If you're going to apply the same style to several elements, then you need to make sure that the style is declared "high" enough in the document tree to be visible to the elements that the style is applied to. 

 
<sectionNoTitle>
  <style name="gray_text">
      <foreground color="dimGray" />
  </style>
  
  <p style="gray_text">This text is gray!</p>
  <p>This text is default black.</p>
  <p style="gray_text">This text is gray!</p>
</sectionNoTitle>

<p style="gray_text">
  This text will not be gray, because the style is declared in a lower scope.
</p>

Overwrite Style Default

If you're going to apply the same style to all elements in a scope, you can overwrite the default style for that element inside of that scope. For example, to make all the paragraphs inside of a section gray and centered, you could do the following

 
<sectionNoTitle>
  <style name="paragraphs">
      <foreground color="dimGray" />
      <textAlignment>center</textAlignment>
  </style>
  
  <p>This text is gray and centered!</p>
  <p>This text is gray and centered!</p>
  <p>This text is gray and centered!</p>
</sectionNoTitle>

<p>This text is default black and left-aligned.</p>

Custom Styles

The following styles can be used to alter the way that qdex elements are displayed. It is important when updating an element's style that you check how it looks on devices of different types and sizes; styles can affect elements differently across devices.

To use one of the styles below, enter the style and the appropriate attribute inside of a style tag. Look at style scoping to see where and how to use styles efficiently. 

For example, to create the styled paragraph below, apply a style that alters the background color, width percentage and horizontal alignment of a stack. Colors can be specified using their X11 name or their RGB(A) value.

 
IMG_0770.PNG
 
<style name="myStackStyle">
  <background color="whiteSmoke" />
  <widthPercentage>0.75</widthPercentage>
  <horizontalAlignment>center</horizontalAlignment>
</style>

<p>Remember, a Jedi can feel the Force flowing through him. You mean it controls your actions? Partially. But it also obeys your commands. Hokey religions and ancient weapons are no match for a good blaster at your side, kid. You don't believe in the Force, do you?</p>
<stack style="myStackStyle">
  <p>
    For eight hundred years have I trained Jedi. My own counsel will I keep on who is to be trained. A Jedi must have the deepest commitment, the most serious mind.
  </p>
</stack>
<p>Kid, I've flown from one side of this galaxy to the other. I've seen a lot of strange stuff, but I've never seen anything to make me believe there's one all-powerful force controlling everything. There's no mystical energy field that controls my destiny. It's all a lot of simple tricks and nonsense. I suggest you try it again, Luke. </p>

The following styles can be used to alter the style of text (paragraphs, titles, etc).

The following styles can be used to alter all elements.

Device-Specific Styles

Styles are often changed in script to signify something to the user. However, they can also be used to customise the look and feel of a module depending on user device settings.

In the below example, the onDocumentOpened event is used to check the device manufacturer and type. Based on the result, the font size and foreground color of all subsequent module paragraphs is changed. 

<onDocumentOpened>
  -- Set font size for all paragraphs depending on device type
  if application.device.IsTablet then
    paragraphs.FontSize = 1.2
  else
    paragraphs.FontSize = 0.8
  end

  -- Set color for all paragraphs depending on device manufacturer
  if application.device.Manufacturer == "Apple" then
    paragraphs.ForegroundColor = "darkGray"
  end
</onDocumentOpened>

<sectionNoTitle>
  <p>Lorem ipsum dolor sit amet, consectetur adipiscing elit. Duis id quam mi. Curabitur cursus tempus risus at dictum. Proin imperdiet mauris ex, vitae facilisis magna consectetur vel. Fusce laoreet tortor in semper pulvinar. Duis nec ex diam. Quisque non turpis neque. Maecenas pretium rutrum sapien, facilisis luctus libero placerat quis. Pellentesque habitant morbi tristique senectus et netus et malesuada fames ac turpis egestas. Nunc sodales, nunc sit amet viverra porttitor, lacus lorem fringilla mauris, id posuere enim nisi ut purus. Phasellus vehicula justo non lacus eleifend dignissim.</p>
</sectionNoTitle>
Text on an Android Phone

Text on an Android Phone

 
Text on an Apple iPad Tablet

Text on an Apple iPad Tablet